I got a NeXTStation mono recently off ebay at a (relatively) reasonable price in a really nice condition (no scratches, no battery leakage, …), including keyboard and mouse but without the matching monitor aka. the “NeXT MegaPixel Display”.
NeXT computers, being quite special and designed to Mr.Jobs’ high ambitions, do not work with standard display / IO hardware. The idea back then was to have a single cable running from the main unit to the monitor, from there to the keyboard and finally to the mouse. That way, users would only have to wire up the main unit to the wall outlet and the network.
While this helps to unclutter the owners desktop and makes installation easier, this also means that without the NeXT monitor, one cannot connect any input devices to the box. Also, powering up the machine gets tricky since there’s no switch on the machine itself, instead theres a power-key on the keyboard.
Testing the machine
The question now is: How do I check if the box works at all without having the monitor?
Fortunately, the internet comes to the rescue with the pinout of the DB-19 monitor connector on the back of the machine:
        10                  1
      _________________________
      \  o o o o o o o o o o  /
       \  o o o o o o o o o  /
        ---------------------
        19                11
- +12V
- -12V
- MON CLK
- MON DATA OUT
- MON DATA IN
- MON PWR SWITCH
- NC
- VSYNC
- HSYNC
- VIDEO
- +12V
- -12V
- GND
- GND
- GND
- GND
- GND
- GND
- GND
Source: https://www.netbsd.org/ports/next68k/faq.html#monitor-pinout
With this knowledge, it’s straight forward to rig up something with jumper wires to:
- Temporarily short pin 6 and any of the ground pins over a 470Ohm resistor to start-up the power supply
- Grab the video signal from pins 8-10 and connect them to the respective pins on a VGA plug. In my experiment below I found that the video signal required a 330 Ohm resistor to not overshoot while H/V sync could be connected as is.

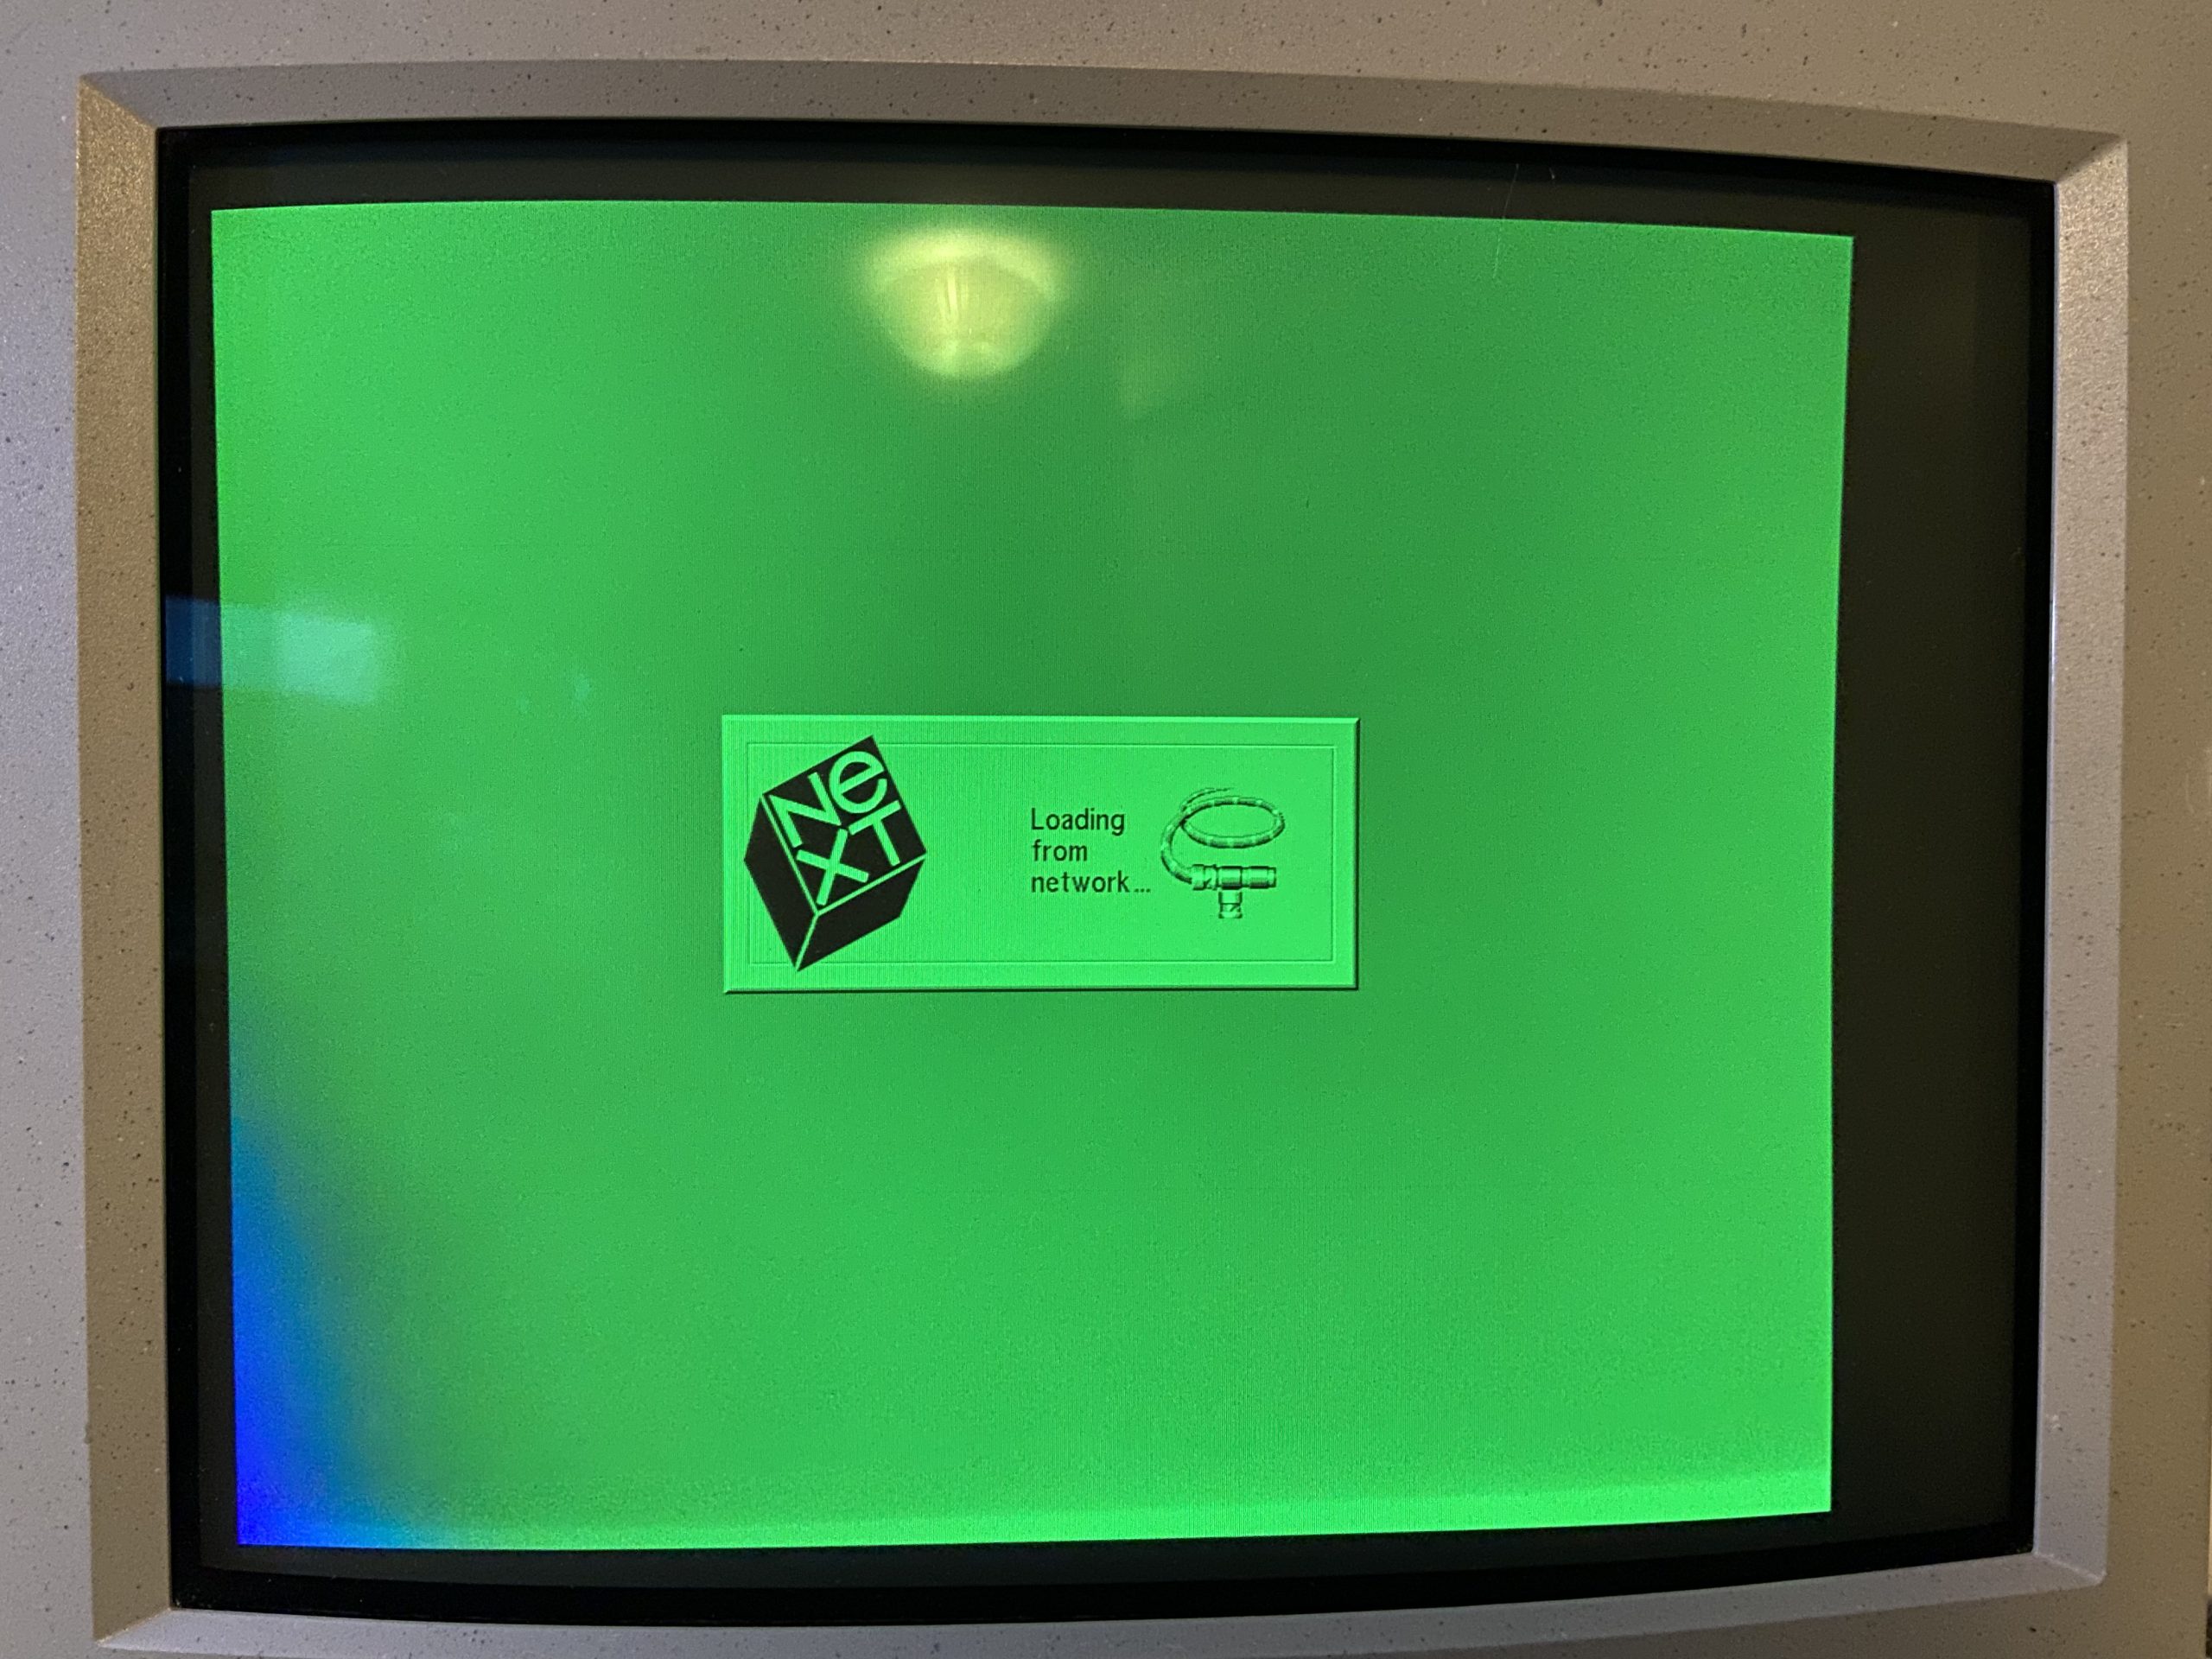
Once the power supply is running, the NeXTStation will try to boot off the network since it cannot detect mouse or keyboard.

My NeXTStation is a mono one, it does only output monochrome video which in this case I wired up to the green channel on the VGA plug. In a more serious setup, I would wire the mono signal to R/G/B channels simultanously to get a grayscale display.

The inside of the box is very clean and without any damages from leaked batteries or blown capacitory. Both, fan and harddisk do spin up nicely. The previous owner was smart to take out the battery while having the machine in storage to prevent leaking – thanks for that!
What’s NeXT:
- I need to get the mouse and keyboard going, for that I’d need
- the NeXT MegaPixel Display which would be the most straight forward solution and would nicely complete the setup, however sourcing one will take quite some time
- or, I could try to use one of the few semi-commercial solutions out there but all of them are sold out at the moment
- or, I can try to hack up some interfacing to hook up mouse and keyboard to the monitor connector, maybe using a microcontroller or a FPGA
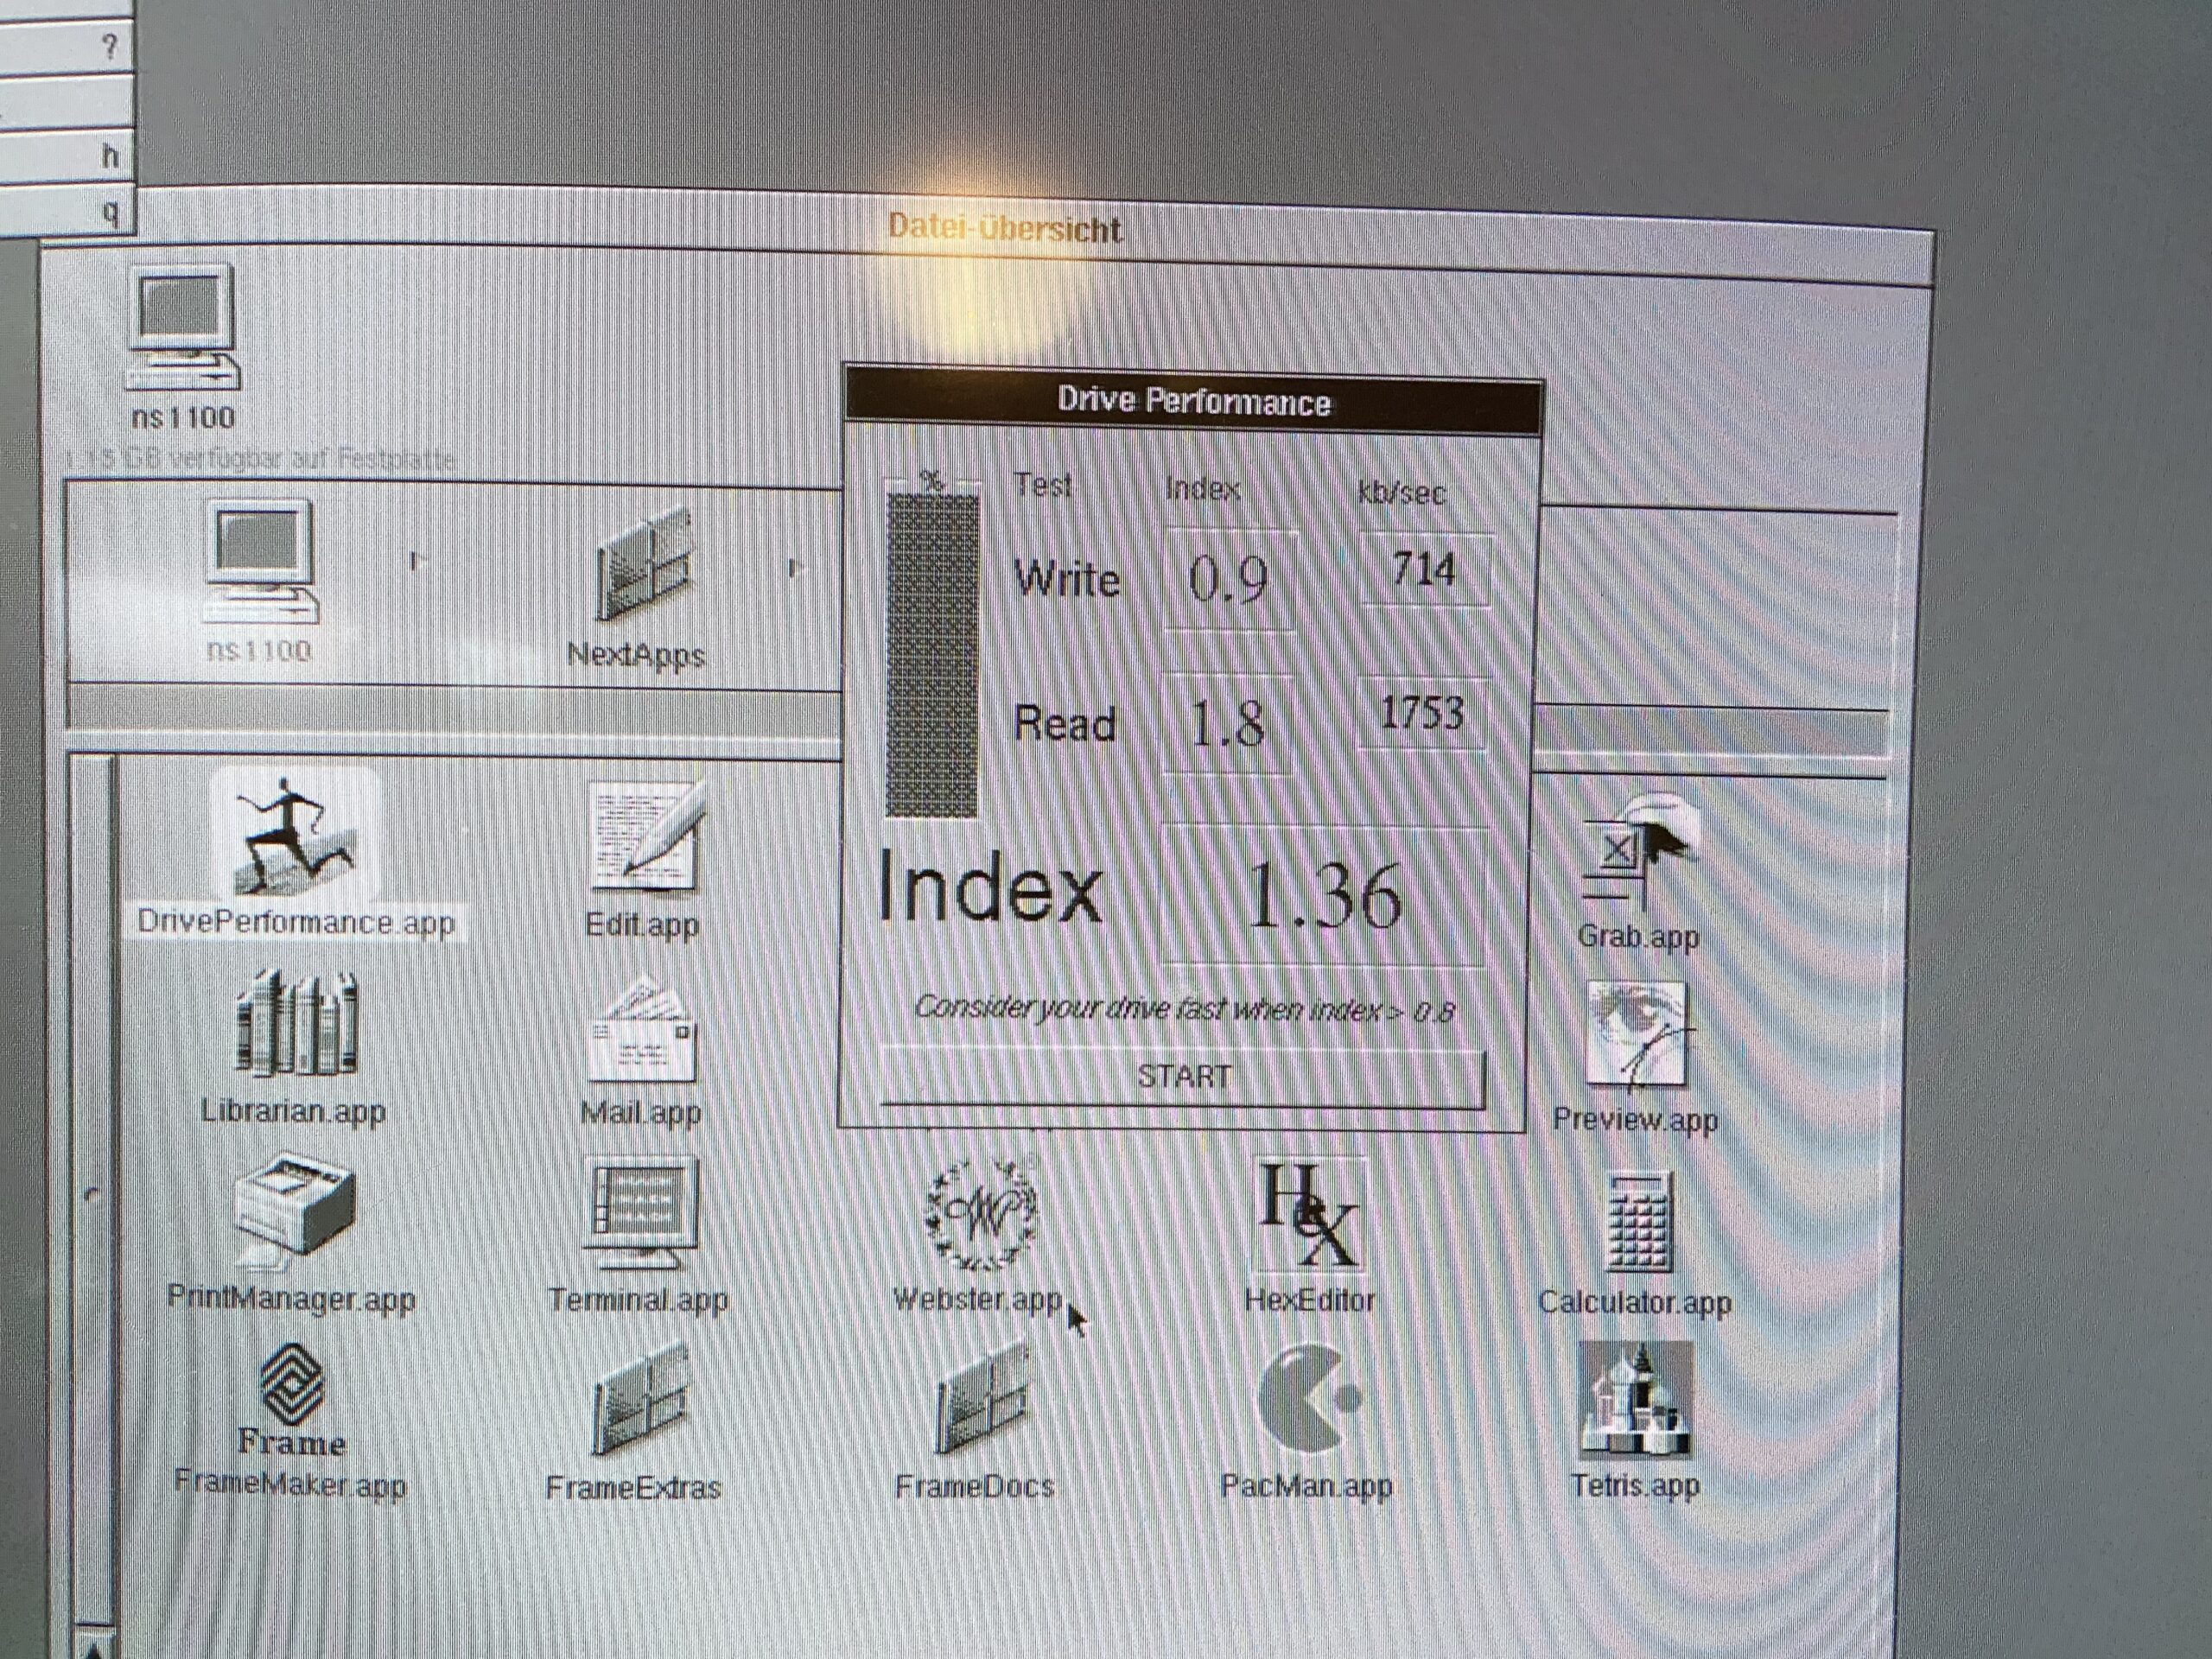
- Once the IO problem is solved, I probably need to re-install the operating system
Update and Upgrade
I decided to go with option 2) the semi commercial solution. Rob Blessin in the US has a stash of old and new NeXT gear which he sells on his ebay shop.
I bought a RAM expansion to 32MB for the machine, the SoundBox ADB PCB made by Brian Archer and 23-pin DSUB connectors. 3D printed a nice mini NeXT enclosure and made a connection cable from an old printer cable the new old-stock 23pin plugs.

Also, the machine got a ZuluSCSI board to replace the old, noisy Seagate SCSI drive which was helped tremendously by a party trick the Zulu has up its sleeve – initiator mode. It will automatically image a SCSI HDD on the bus onto its SDCard if the respective jumper is set. Couldn’t be easier 🙂


